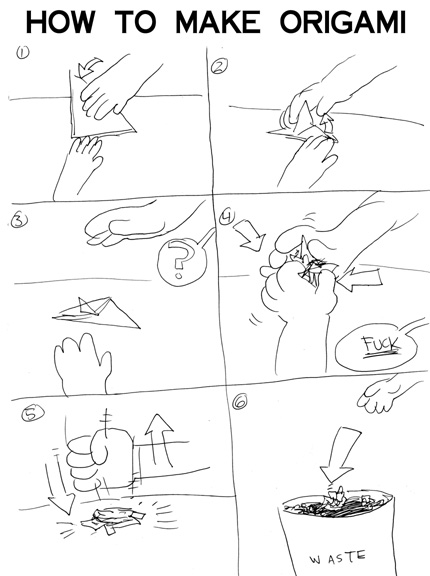
Remember back in grade school when you learned to make cootie catchers, footballs and throwing stars? Well 
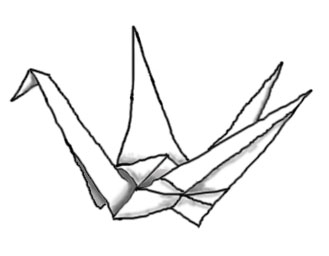
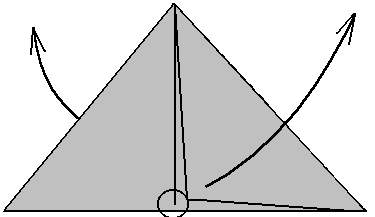
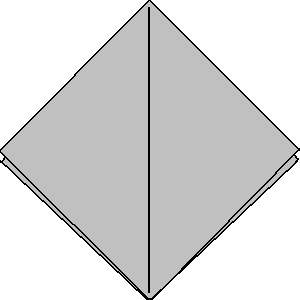
turns out thats origami.

Origami is just Japanese for "foled Paper". My intrest in origami started with paper airplanes, I used to sit in the livingroom and make hundreds of planes with slight modifications, just to see how those changes would affect the flight. Then I went to an origami class at a library. From then on, I was hooked. I've read dozens of books, made earrings and mobiles, I have even made cups to get free drinks from soda fountians.

Below are the directions for a simple model, the crane. I don't have a scanner, so please excuse the crude mousework. I'll have more later but if you want to try something harder before then, try this.

There are only two ways to fold a piece of paper, twards you and away from you. Very simple. These are the vally and mountian folds represented by dashed and dash-dot lines.
Start with a square piece of paper colored on one side.

So this would be you folding a piece of paper in a valley fold twards yourself from top to bottom. Wheeee! Now you've got it.

The paper should look kinda like this now.

The bottom edges should line up, this is just to show that there are two layers.

Now fold the paper in half again, this time from side to side. Then open it back up.
Now that you did that you should have a rectangle with a crese down the center.

Fold the upper right corner down to where the crese meets the bottom edge. See? So far so simple. And only one fold used.

Turn the paper over.

Make the same fold on this side.
Now its gonna get alittle trickier, put your thumbs up inside the innermost pocket and pull the model open.

Holding the layers together at the circled part will help it from coming apart. The side points should come together and you should end up with a diamond shape.

This is what is called the preliminary base, It is used for many origami models.

Oh, you thought this was how to make a crane? Try here.